Good morning!
I'd like to introduce to you Nick and Kimber of Little Sapling Toys on this fine day. They make all kids of wonderful natural wood toys including those ASL blocks, I included in a post a couple of weeks back. If you would like to purchase anything from their Etsy shop, use the code LUVBLO10 to get a 10% discount between now and August 15th.
 |
| On Etsy |
What do you make and what was/is the inspiration for your shop? We make wood teethers, blocks and developmental toys for young children. Our beginning inspirations included the thrill of entrepreneurship, beautiful design and our own young son.
What instances helped give you the confidence/motivation to pursue this as a career? In 2005-2006, Nick and I traveled around the country remodeling bathrooms as an install crew for AmBath, LLC. While living in hotels and eating in restaurants daily, we would constantly talk about the businesses; what we would keep, change and how we would run things. This experience was the foundation for running a smart business with consumers in mind.
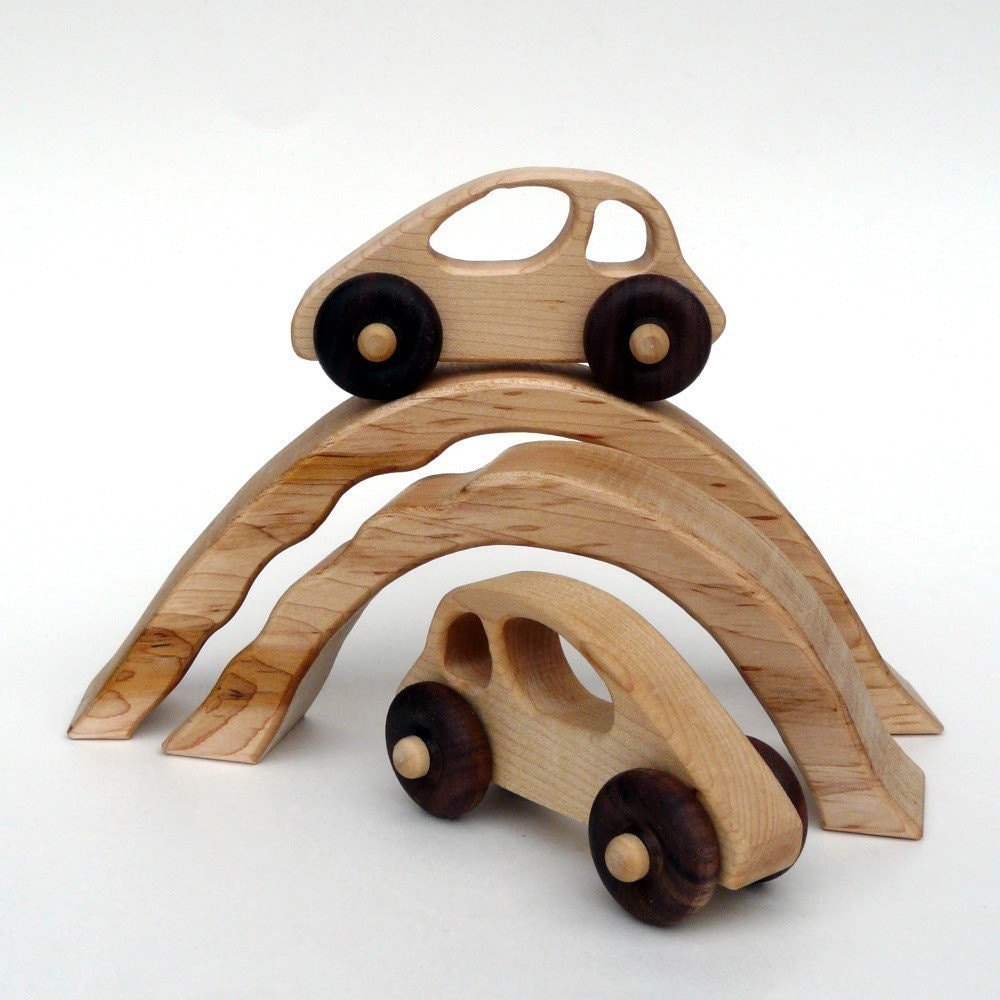 |
| Organic Driving Toy |
What is your vision for the future of your business? We expect our retail growth to stay strong while we continue to develop new toy designs. We are currently scouting for locations within our beautiful city of Sheboygan, WI to set up our wood shop and have retail space available to the community.
What is your connection to the Deaf community? If none, how did you come up with the idea for your wonderful ASL blocks? We have used basic sign language with our children and loved using the ASL alphabet as a teaching aid. Our ASL "I Love You" teether was an instant hit with our customers, we made our beautiful alphabet blocks, then Braille blocks and ASL alphabet blocks were a natural to follow.
Are you trained as an artist? If yes, what degree(s) or certificates do you hold and where did you earn it/them? If no, how did you learn to make the items you offer in your shop? I design the toys with no formal artistic training. I can just see the beauty and utility potential when I imagine the wood. Nick runs the shop and makes toys with a degree in Historic Preservation and Restoration Carpentry. He also worked as a cabinet maker at the time we started Little Sapling Toys. We are a brilliant team.
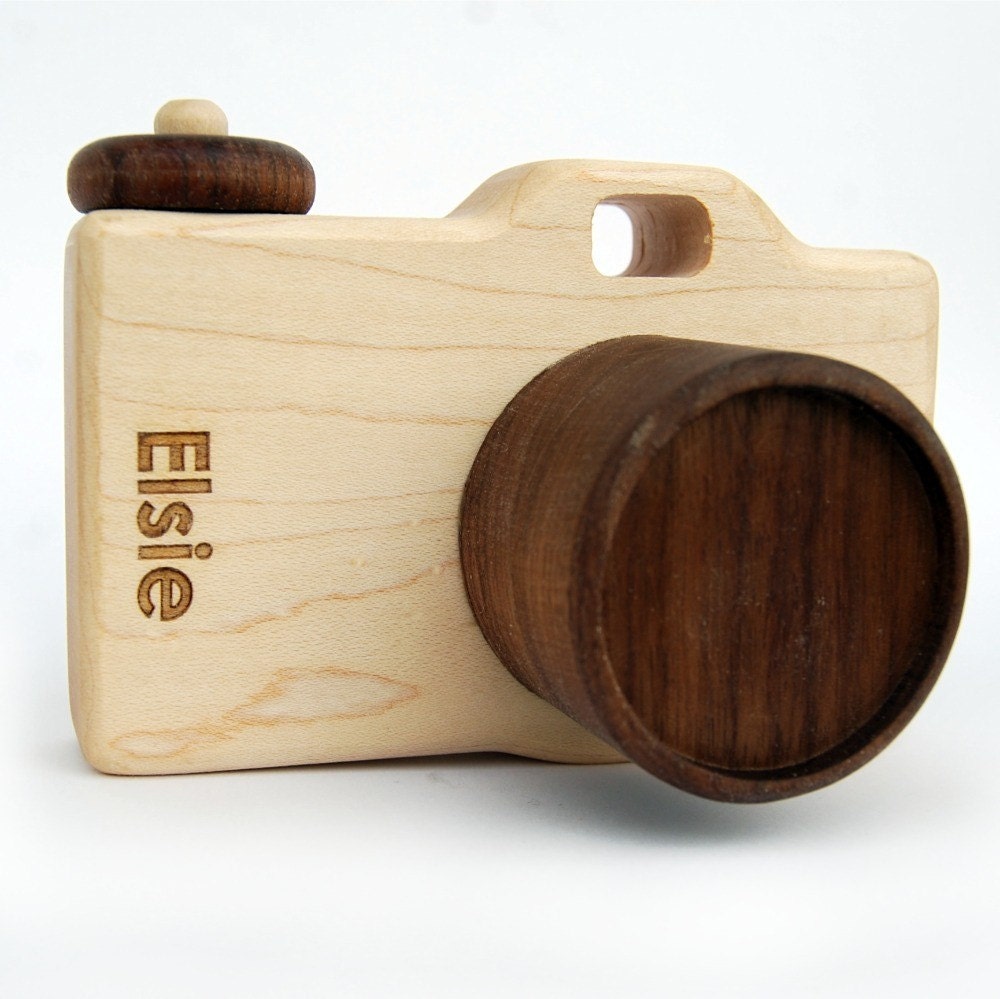 |
| Personalized Camera |
What is one thing you will be going out of your way to learn more about in the coming year to benefit your business? Law (namely intellectual property and safety standards)
What steps are you taking to ensure your products follow applicable child safety laws? We've had our toys XRF tested (by ESSCO Safety Check) and we are working on getting certified testing later this year. One of the reasons we invested in a laser engraver is so that we can label our toys in compliance with CPSIA standards.
Here are myriad of places you can find Nick and Kimber on the web:


