Showing posts with label arts and crafts. Show all posts

Wednesday, September 14, 2011

Craft: Making Changes Here AND Shadow Art II... {It's completely different!}

You ARE in the right place, I just changed the template and design of Live Love Craft Bloom!  I hope you like the changes as much as I do! I will continue to change things around here a little at a time, so please pardon the dust and enjoy!                       

This week at preschool we wrote our child's name in white crayon on white paper and watched our children's amazement as their name appeared out of nowhere when they watercolored their papers.  So, I was messing around with this at home trying to approximate a different resist technique that I did as a kindergartener, but we didn't get there... {I think I figured out what I am missing though, and will bring it to you in another post on a different day.}  Anyway, I made an abstract-ish design on white paper using colorful crayons instead of white and painted the whole paper with black water color.  That is what you see in the first picture below.  Princess Peach thinks it looks like a sidewalk chalk drawing on asphalt... I'm undecided.  But I wanted to do more and the kids were still drawing so I turned my paper over after it dried and used several different colors of dark marker to doodle-on the graphic design on the back because the markers are old and need to be replaced.  I would have preferred just black, but oh well! Then Princess Peach says to me, "Mommy, what does it look like in the window...?" To which I replied, "Let's find out!"  So we did.. and it's a hit with the whole family!

I love how making simple things together leads to a sense of adventure in our home!!

Keepin' it Crafty!

Kristin


P.S. What are you doodling up these days?? E-mail me and I may include it in a future post. {K}

Wednesday, August 24, 2011

Craft: Fun with words two...

Ok, so I'm not planning to make a big long series out of this or anything, but I did remember one other thing my friends and I used to do to spice up our words... Here it is:


So all you do is write your words and then pick what two sides you want to highlight.  I chose to use the additional colors on only the top and right sides of the original writing.  I did a total of three colors, but two is great too.  I just did this quick and dirty, but if your writing is nicer than mine {and it probably is} it will look even better.  Much of the ink from my {mountains of} different colored Hello Kitty pens went into writing things like this.  Oh... the 80's!

Keep it crafty and remember your roots!
Kristin

Thursday, August 18, 2011

Craft: Fun with words...

I was thinking about back to school time last night and I was reminded of a couple of things I used to do occasionally to have a little fun with writing in pretty ways.  The first way is good for practicing cursive and tracing and the second is good for practicing printing.  Both are beautiful and give the kids a chance to be creative with their name or any word, really.  So, before the doldrums of writing practice set in again, here's your chance to make it fun.


Kristin

Wednesday, August 10, 2011

Craft: As promised... New mini bows added to my shop!

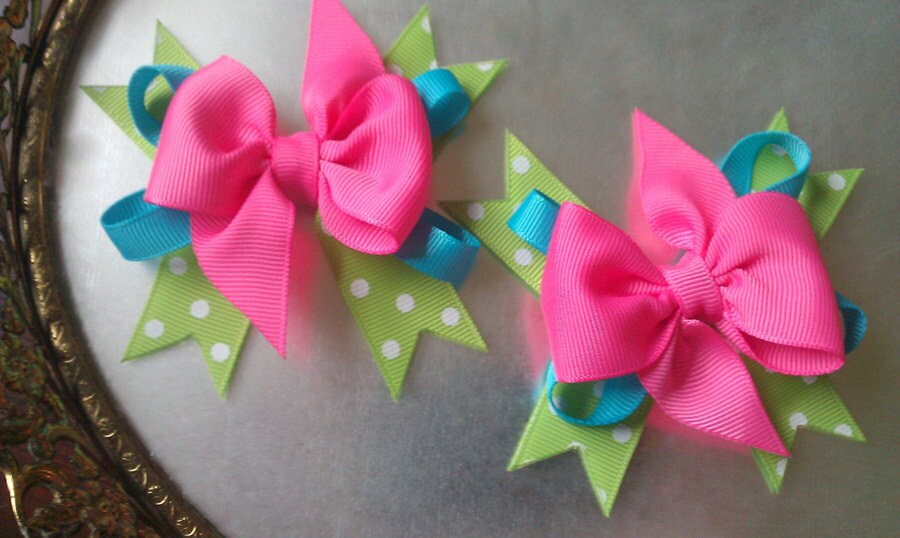
Here are some of the new mini bows I just listed in my shop.  {More are on their way soon!} The colors are customizable, so if you love little bows... These are for you!

Keep it crafty!
Kristin
Two Mini Spiked Pinwheel Bows
Two mini spiked boutique bows

Tuesday, August 9, 2011

Featured Artisan: Kelly Brannan of The Adorned Abode

Fellow Sahm of Etsy teammate Kelly Brannan from the Adorned Abode stepped into my {online} office the other day for a chat about what she does.  She is so sweet to offer you a coupon for 10% off your entire purchase at The Adorned Abode valid today through August 31st.  The code is LOVEINBLOOM.  Here's what she had to say:


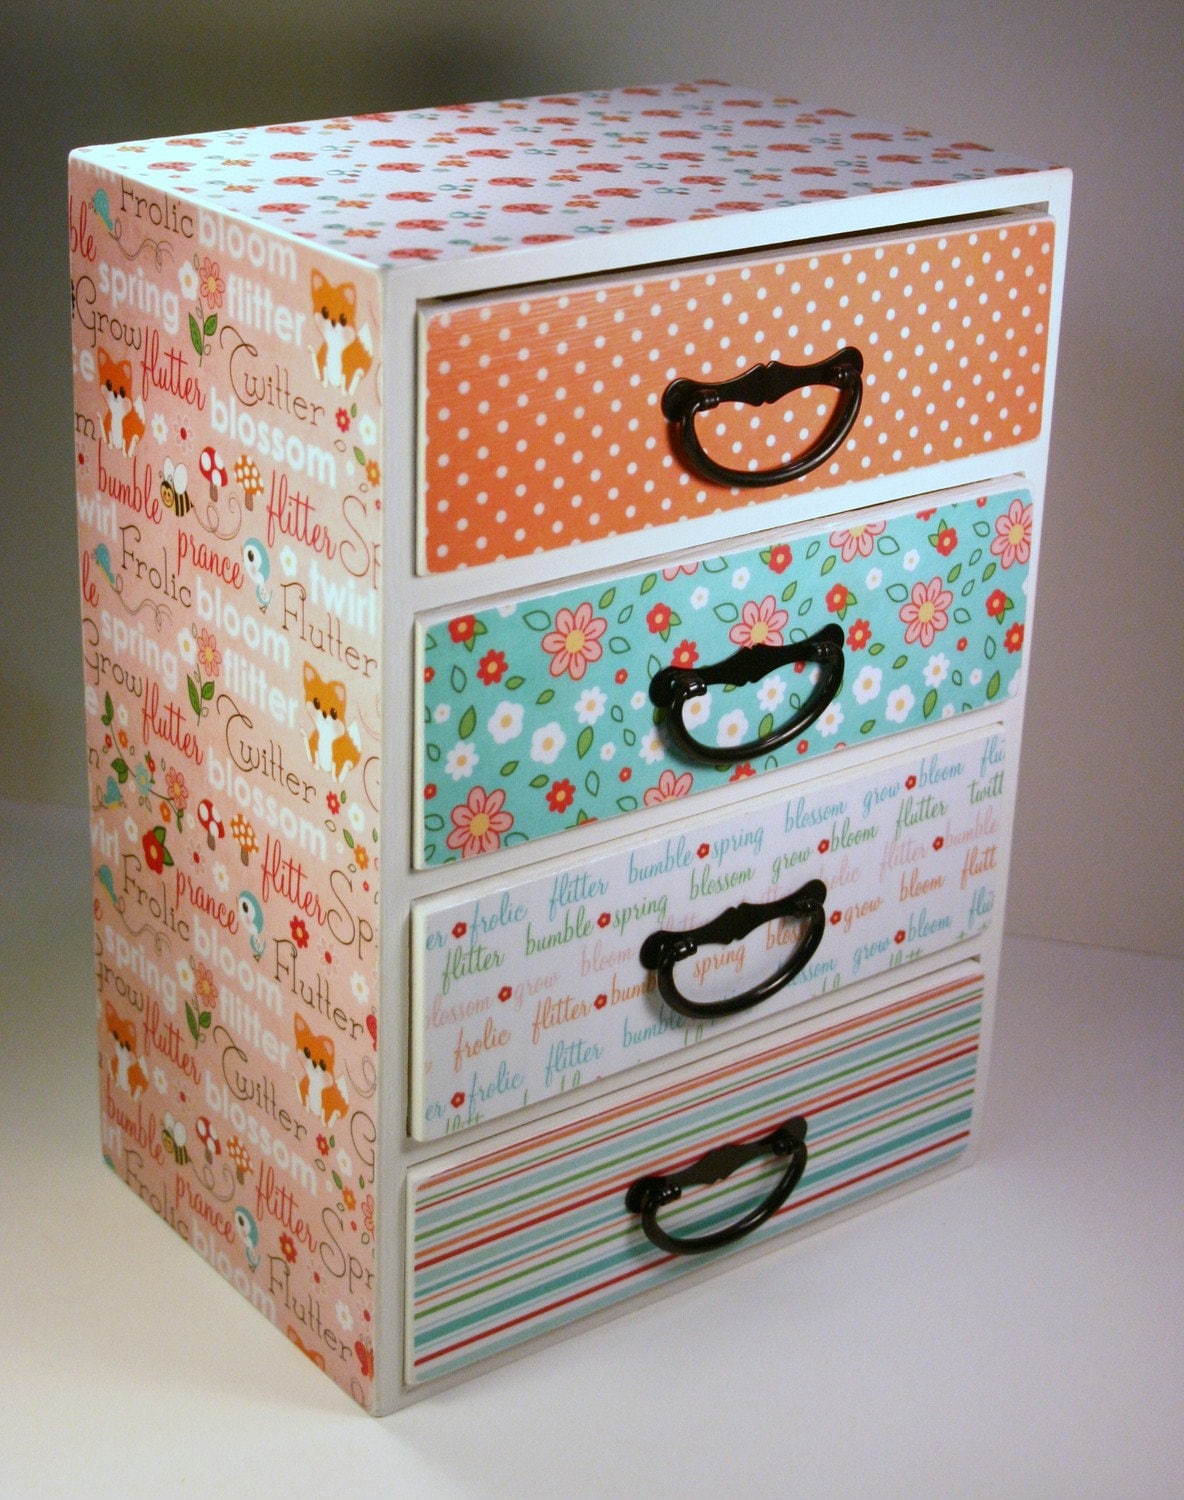
Woodland Jewelry Box
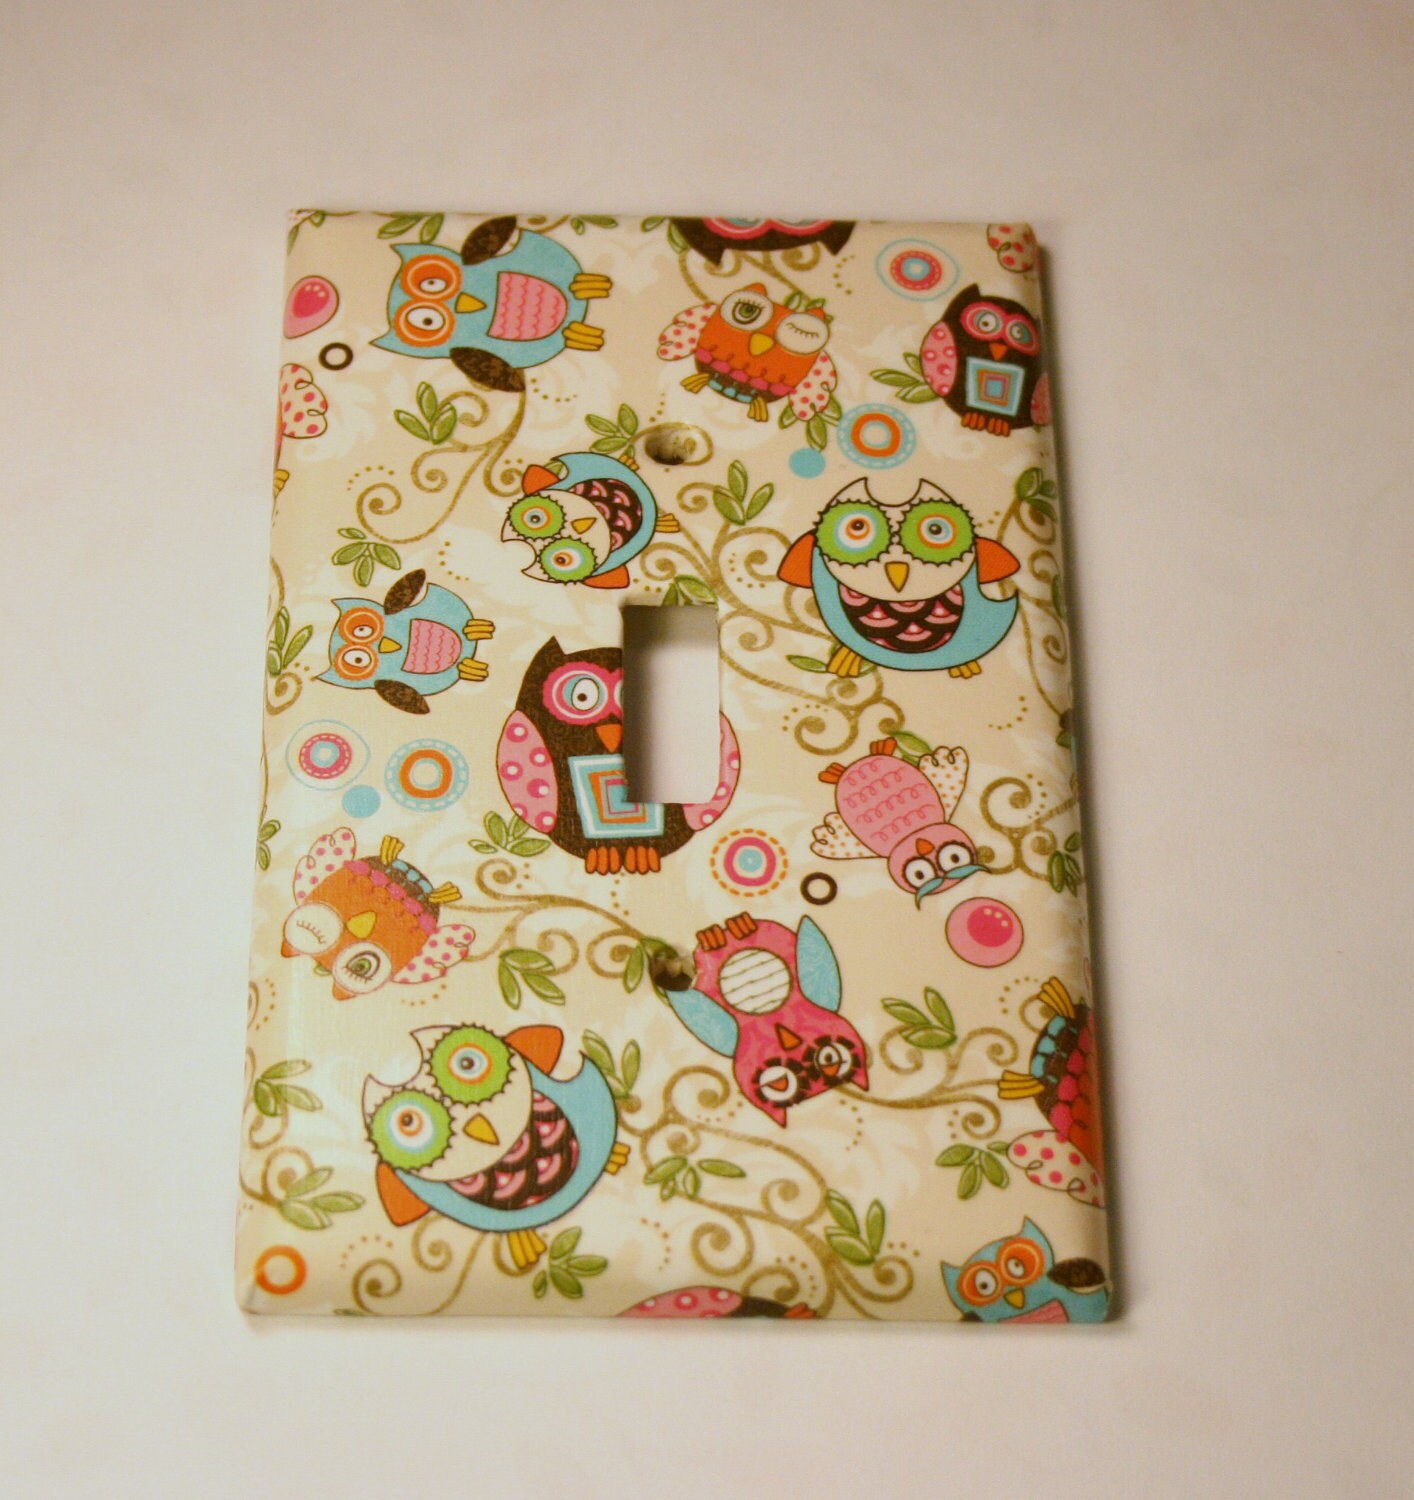
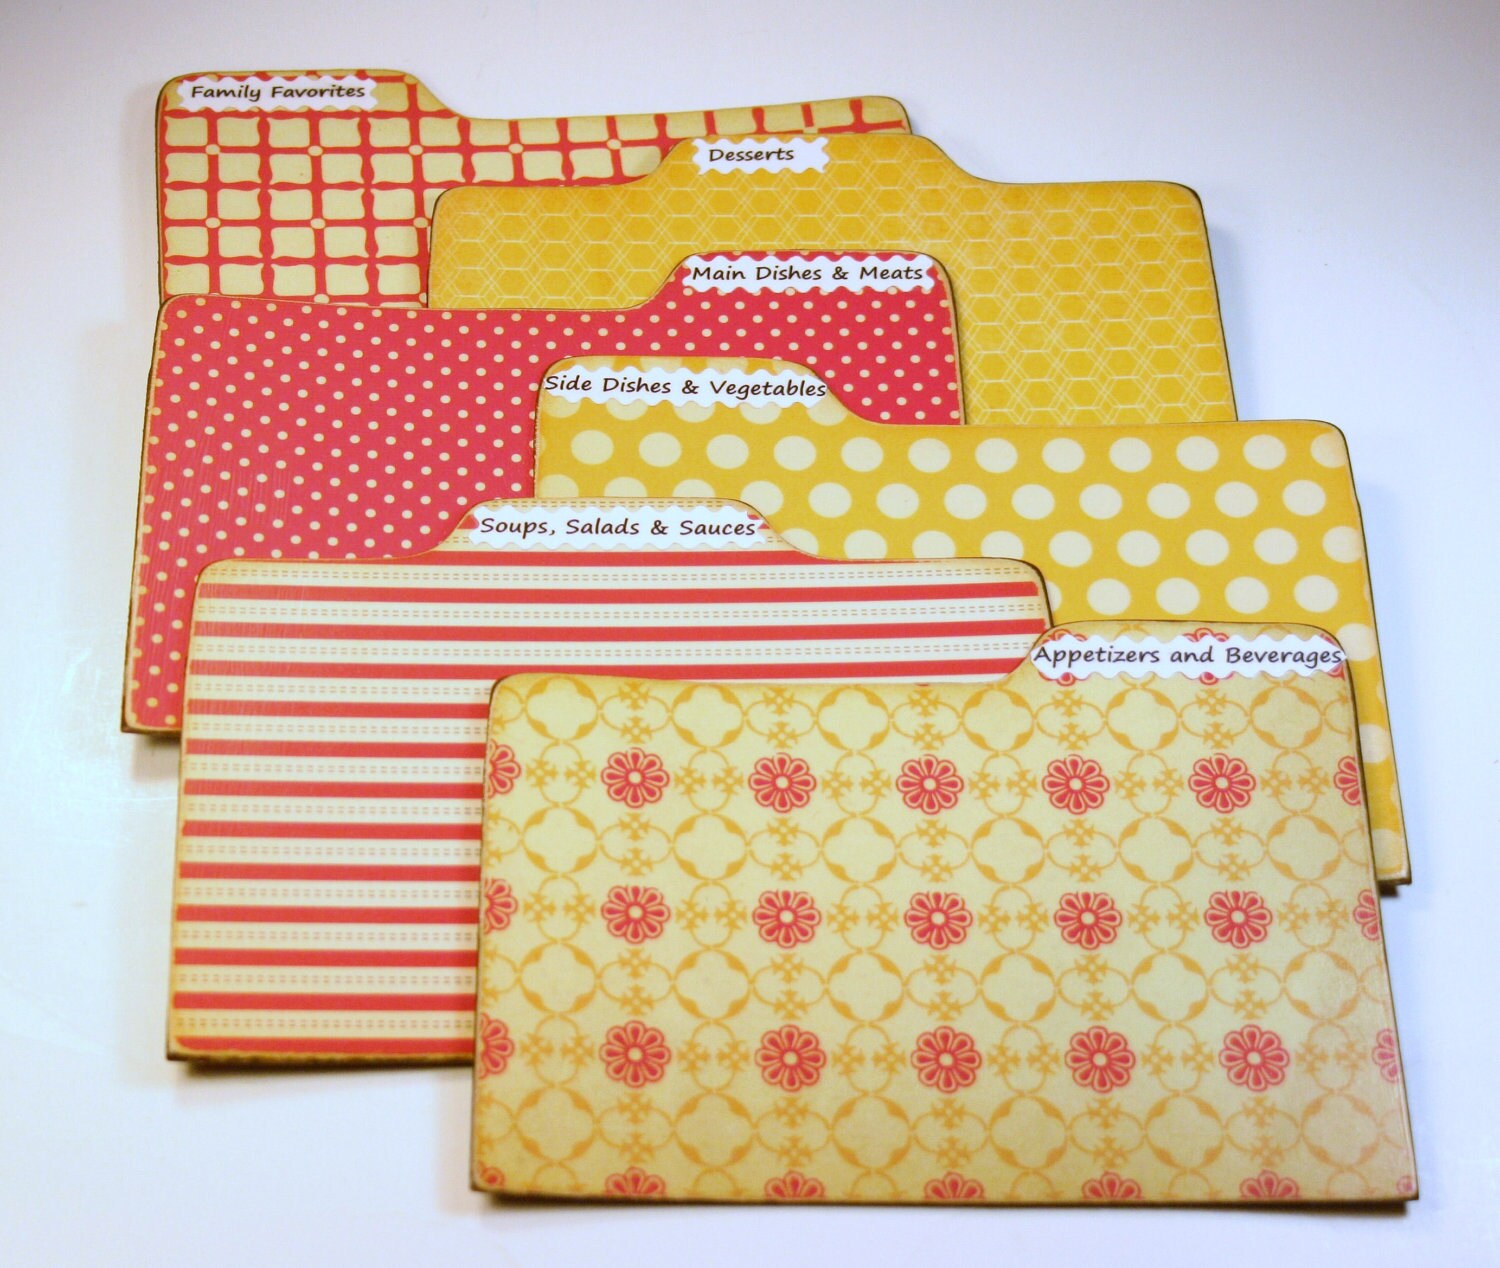
What do you make and what was/is the inspiration for your shop?  I make decoupaged wooden recipe boxes and divider cards, trinket boxes and lightswitch plates. My main inspiration is my children; after making most of the décor for my daughter’s “big girl” bedroom, and some for my son’s nursery, I decided to start making and selling items. And beautiful paper is another inspiration; just walking into a scrap booking store gets my creativity flowing, imagining all the things I can make.  


Tell us how your creativity has woven itself into your life’s journey to make you what you are today.
I’ve always enjoyed doing “crafty” things, just for myself and our home. Last year I went to a painting studio where they show you step by step how to do your own painting, and I so enjoyed it and found it so fulfilling that I just had to keep making things. I’ve always been a little creative, but doing the paintings really “woke up” a sleeping creativity that I didn’t even realize was there. Compliments from others on my creations gave me the confidence to try my hand at an Etsy shop. And part of it was just a risk, a “why not give it a shot” type of thing.


What is your vision for the future of your business?  I feel my shop has been pretty successful so far, considering I’ve only had it open for half a year at this point. My vision would be for that to continue and grow, and to add some new items to my inventory as I’m able to. I would also like to start advertising, though I haven’t worked that out just yet, and I’d love to try a craft fair as well. So far, I haven’t been able to get enough in-stock inventory built up to do that, but that would be my hope for the future.


Owl Switchplate
Tell us about your typical day.  I have a 2 year old son and an almost-4 year old daughter, so my typical day starts with coffee (a few cups!), and the regular day to day things regarding caring for my kids and home. I usually work on orders, or new items, at a few different times throughout the day, just whenever I can fit it in. And of course, lot of play time with the kiddos. J And then once they are in bed at night, I work some more, often into the wee hours!


Are you trained as an artist? If yes, what degree(s) or certificates do you hold and where did you earn it/them? If no, how did you learn to make the items you offer in your shop?  I’m definitely not trained as an artist, though I would love to be! The only training I’ve had is the painting classes I’ve taken, if you count that. And of course, I don’t offer hand painted items in my shop, other than painting a box at times. Actually, I don’t consider myself an artist at all, though I do think I have some artistic ability, which I really didn’t acknowledge until the past year. I have an Associates Degree, and a Paralegal Certificate, and worked as a Paralegal until I was pregnant with my son and came home full time. As for how I learned to make my items, some of it was intuitive, and the rest I learned from research on the internet and trial and error.

Recipe Cards {and Box}... for Mom!
In what other areas of your life (or interests that you have) do you see your creativity shining through?  I do love to write, and have always dreamed of writing novels (maybe I’ll try that someday after all!). I’m not a gardener at all, and have no musical skills…well, I love to sing, but I think most people would prefer not to listen to me, lol!
I think my creativity shines through mostly with my kids. I love to do age-appropriate crafts with them, and look forward to all the fun crafts we can make together as they get older. I definitely try to encourage their own creativity and imaginations!
What is one thing you will be going out of your way to learn more about in the coming year to benefit your business?  Book keeping, for one! I must learn a more organized system for keeping up with sales and expenses. And as I mentioned, I’m thinking about trying advertising, so I need to look more into that.

You can find Kelly in these wonderful places for now, but we hope she'll keep us posted if she starts up a blog later too. {wink!}






Wednesday, August 3, 2011

Craft: Shadow Art

My wonderful daughter asked me for some paper the other day while the boys were playing nicely in the livingroom.  So, I gave it to her and she started cutting shapes out of blue and pink paper and glued it onto white paper with a glue stick.  Blue on one side, pink on the other.  Noticing what she was doing I asked her, "What do you think it will look like if we put it up on the window?"  "Let's try it and see," she says.  So we did and here is the result.
Pink side against the glass...
Blue side against the glass...


I love the organic shapes she cut out, but you could do this with any recognizable shape or random paper cuts work too for a more abstract approach.

To cut the shapes, she cut oval-ish shapes out then folded them in various directions and cut on the crease (like when you make snowflakes).

Some things we noticed about this project:
It looks different depending on which side is next to the glass, or even different still if it's on the table.

Overlapping shapes from one side to the other has a nice effect.
We both love it!

I'd love to see your work if you try this with your kids (or just by yourself).

Keep it crafty!
Kristin

Friday, July 29, 2011

Friday Fun!

I made a treasury this week:


and I was featured in two treasuries this week {Thank you Lisa of Leyton Smiles and Barb of Quilted Hugs Bibs!! } {Go EtsyKids Team!}:


Keep it fun!
Kristin

Wednesday, July 20, 2011

Craft: That scarf I started...

I finished that scarf I started a while ago, so I thought I'd post it for you to check out...  I'd love to read your comments since I'm thinking very, very seriously about adding a crochet section to my store in the near future.

Keep it Crafty!
Kristin

Thursday, July 14, 2011

Craft: Sunny Circles Sun Catchers

The current art on my kitchen window was getting pretty faded after being up all spring, so this is what I did to replace it.  Yeah, I did it by myself without help from the kids this time because I had a pretty rough day with them and I just needed to chill a bit after bed time.  (It worked wonders, by the way...)  Tomorrow, I will let them have their way with the tissue scraps and all will be well in our house again. :)

What you need to do this yourself:

Waxed Paper
Liquid Starch
Scissors
Bowl
Paint brush
Paper Clips
Tissue Paper Scraps (I recycled some from a party)
Sharpie
Place to Dry your finished piece
Tape or Hole Punch and Ribbon

I folded one sheet each of red, yellow, white and pink tissue into rectangles about the size of a half sheet of paper and traced three different size circles onto two of them.  Then I stacked them two high so I could see the circles on top of each stack and added paperclips around the design to help hold the paper together and keep it still while I cut them out.  Squares, triangles, or just torn up scraps work well too, but I really wanted circles this time. 

Paint liquid starch on your waxed paper and add one layer of tissue circles.  Paint over them with more starch working from the center out on each tissue circle to prevent distortion of your shapes.

Add more layers of circles, overlapping them as desired until you get the look you want.  Using more layers makes a sturdier end product, which is important if you want to hang them or use them as gift tags.  (You can write on the paper with a Sharpie!)

Put a couple of heavy books around the edges to prevent curling and let it dry....

Trace various sized circles (or your favorite shape) onto the waxed paper with a sharpie and cut out. This paper cuts fast with little resistance to your scissors so it is easy to make mistakes.

Carefully remove the waxed paper from your tissue sun catcher.  If it doesn't all release, it is okay  because when you put it up to the light, you can't see the traces of waxed paper anyway.   (Unless that's the place where you wrote on it with a sharpie!)

I didn't like how mine hung with ribbon, so I ended up using some clear tape on the back to stick them directly to the window so that they laid flat.  I SO love how these turned out and would love to see pictures of your creations if you decide to make some too.

Keep it crafty!
Kristin


Wednesday, July 6, 2011

Foundation row single crochet...

     One of my best friends, Karly of Just Dandy Creations, taught me how to crochet a few stitches a couple of months ago, and I instantly fell in love with crocheting.  It is such a soothing and quick (depending on what you are making) craft that I try to get a few stitches in every day.  There is, however one thing in crochet that I loathe... the process of making a row of any type of stitch onto a chained row using the traditional method because it is painstakingly SLOW! Because of this, I never tried to crochet a scarf or start a blanket or any real clothing.  
     One day at nap time, I was looking on You Tube for some different things to add to my crochet repertoire and I found a video on doing the foundation row single crochet.  I won't name names, but the video was enough to get me in trouble, and not enough to do anything meaningful with. I followed the instructions exactly (at least, I think I did) and it unraveled completely.  I was pretty bummed, because I had gotten my hopes up that I might actually want to make a scarf one day. 
Beginnings of a sweet girlie scarf...
     You can imagine my delight when I stumbled onto this awesome tutorial and video on Future Girl's blog.  It is such an easy to follow video tutorial, that I decided to share it with you even though it is a couple of years old.  This method is nice for lots of reasons, but my favorite reason is that it is SO much faster than trying to get the hook into a flimsy little chain without it twisting up like crazy because you are actually making the chain row and the first single crochet row at the same time.  When you get to the end of your row, you have a much more substantial portion of your piece done and it is much easier to work with.  Anyway, here's the picture of the scarf I started using this technique... (Shh! Don't tell my daughter... It's for her!)
Related Posts Plugin for WordPress, Blogger...